-
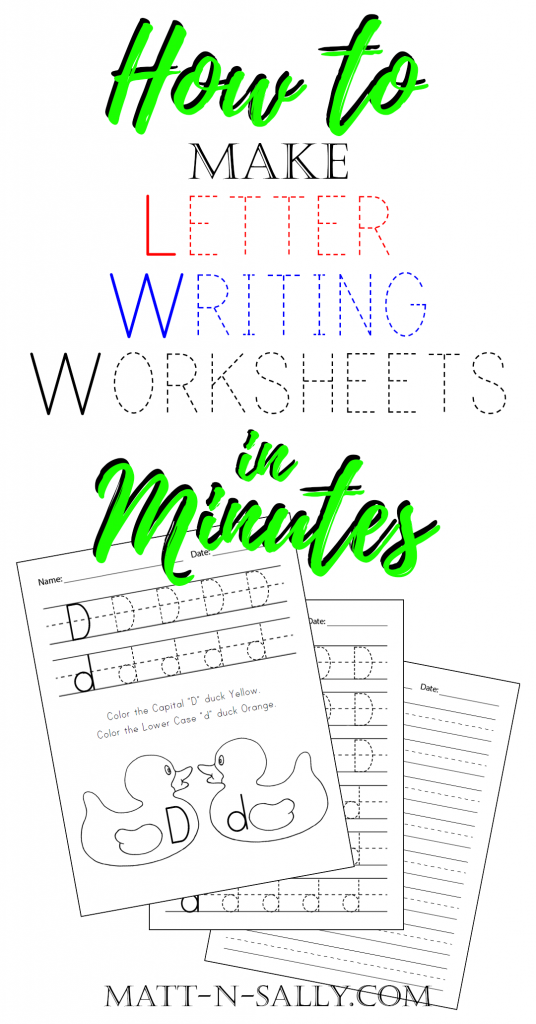
How to Make Letter Writing Worksheets in Minutes
If you are anything like me, you get frustrated looking around on Google trying trying to find letter writing worksheets that you can download and print without signing up to yet another email list on a sketchy, ad-ridden website. Well, I finally decided to just make my own in Word. It ended up being super easy, and now I can make new letter worksheets in minutes, and they will go along with whatever my children are learning at the time. It was so easy I want to teach you how you can make your own.
1. Install a Dashed Letter Font
You’ll need a dashed letter font to make creating new letter writing worksheets super quick and easy. I found several options when I was looking for one. You can download and install as many as many of these as you want, they are all free. I really like the Print Clearly font. It has 2 non-dashed fonts as well as the dashed one, which makes it easy to give examples of the letters for your worksheet.
- Trace from Fontspace
- Penmanship Print from Fontspace
- KG Primary Dots from 1001freefonts
- Free ABC Printed Dotted Font from Teacherspayteachers
- Print Clearly from Fontspace
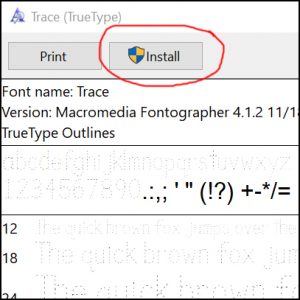
If you have never installed a new font, don’t worry, it’s super simple. First download the font, then open it in the location you downloaded it to (usually the downloads folder). Double click the zipped file to open. Double click on the font file, usually it will end in either .ttf or .otf. This should open a box that shows examples of the font at various sizes. In the top left of this box, you should see a button that says “Install,” click it, and it will install the font to the correct folder on your computer.
2. Set Up Your Word Document
Open Word, and create a blank document. On the Layout tab, set the Margins to .25″. You may have to set custom margins for this. Setting the margins to .25 will give you more print area when setting up your letter writing worksheets.
3. Add Letter Guide Lines
Now that you have the basic document set up, it is time to add some guide lines to the page. You can take your time drawing lines from the line tool in Word. You’ll find this by clicking on the Insert tab, then Shapes, and finally, Line. Doing it this way takes too long for me, and it can be quite tedious.
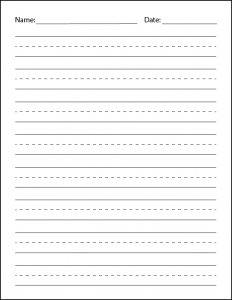
Instead, I made a PNG file that you can save and insert into your document. Choose from the 3 options below, black, gray or light gray depending on how dark you want your lines. Simply right click on one and choose “Save image as…,” then save to your preferred location.


Here is another PNG for a name and date line, in case you want to add one.

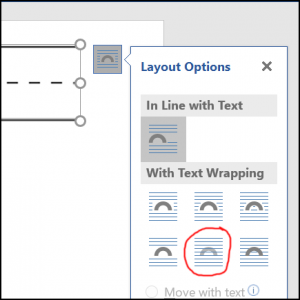
Now, in Word, click on the Insert tab, and then Pictures. Select the guide lines image you just saved. The lines PNG will appear on your page. In order to move it around freely, and to add the the dashed letters over the top of the lines, you’ll have to make the PNG stay behind the text. Click the little square that appears on the right corner of the image (see example), then click Layout Options, then Behind Text.
Now you can drag the image around freely. Place the line image where you wish it to be. If the lines are not tall enough for you, simply click the bottom edge of the image, and drag it down until you are satisfied with the height. You can now copy and paste as many of these guide lines as you want on your worksheet.
To equally space your guide lines, hold down control while you click each image. When they are all selected, click the Layout tab, then click Align, then Align Center, then Distribute Vertically. Now they are centered, and equally spaced.
This is a great time to save your work. You can either print your worksheet like this, or you can continue and add the dashed letters for writing practice.
4. Add Dashed Letters
To add the dashed letters over your guide lines, click Insert, then Text Box, then Draw Text Box. Click and drag your text box over your guide lines, and drag it a little larger than you think it needs to be.
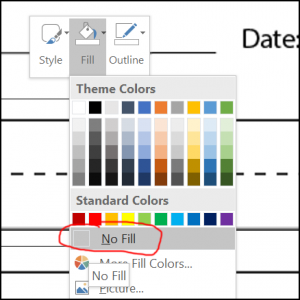
The text box will come filled, and with an outline. To remove them, right click on the edge of text box, click Fill, then click “No Fill.” Do the same for the outline.
Now double-click inside the text box, and choose your dashed line font. Type the letters you want on that line of your letter writing worksheet. Adjust the font size until they seem big enough to just fit between the top and bottom of the guide lines. It may take a few times going back and forth, readjusting the font size, dragging the text box bigger, and repositioning the text box before the letters line up in between the guides.
Once the letters fit between the guide lines, copy and paste the text box, and drag it over each set of guide lines, and type the letters you want on that line.

5. Add Some Fun Clip Art (Optional)
Add some clip art to your letter writing worksheets if you like. This will make the worksheet a little more fun and interesting to your little ones. I found a few websites that offer free clip art for download. These websites have pretty much anything you could want to add to your worksheet. Just use the search feature to find what you are looking for, download it, then use the Insert tab, then Picture to add it to your worksheet.
Here are a few free clip art websites:
- https://openclipart.org/
- https://classroomclipart.com/
- http://www.clker.com/
- https://www.vecteezy.com/
6. Free Letter Writing Worksheet PDF Downloads
As I have made letter writing worksheets of the first 5 letters, here they are for free if you are interested in using them. Click the links, and either download, or print them.